Editing a rejected beneficiary
If a beneficiary that you created is rejected by an approver, you will receive an email to let you know that the beneficiary was not approved. You can then edit and resave the beneficiary template.
To review and edit a rejected beneficiary
- On , under , click .
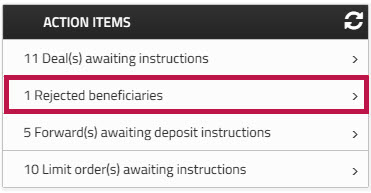
The page opens and displays a list of rejected beneficiaries.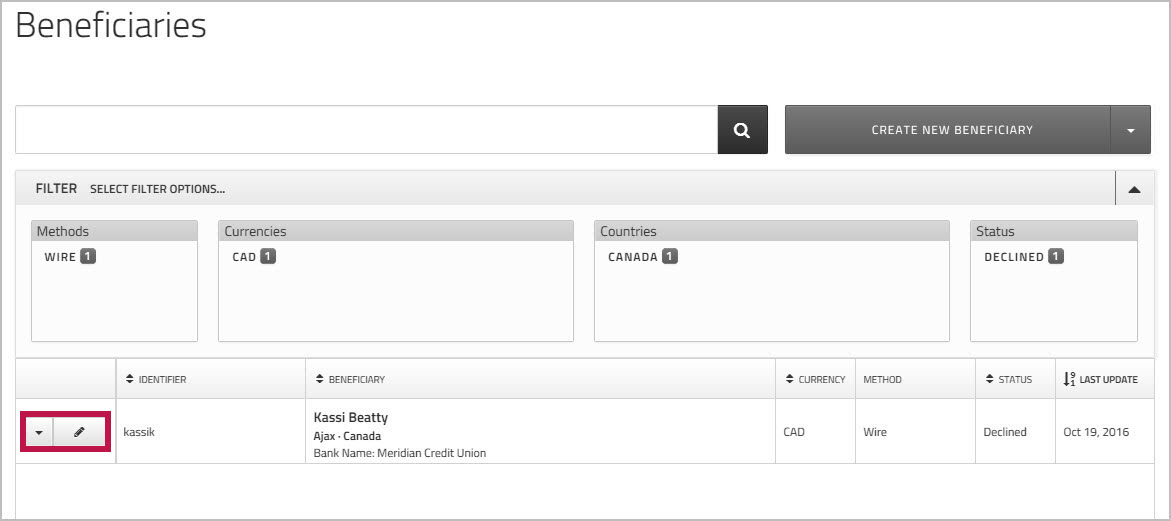
- Click the
 edit icon beside beneficiary's name or choose from the dropdown list to edit the beneficiary template.
 - On the page, check the reason that the beneficiary was rejected.

- Make the required changes, and then click .
If your account configuration requires you to authenticate via when creating, or editing a beneficiary, when you click , you will be prompted to select one of the authentication methods you set up. For more information, see Multi-Factor Authentication
The updated beneficiary now goes back into the approval queue.